Coach buses are one of BC's most underrated tools for cycle tourists. They're economical, reasonably low-carbon, and they usually accept bikes. The right combination of bus and bike unlocks point-to-point touring without a car.
Coach services in BC#
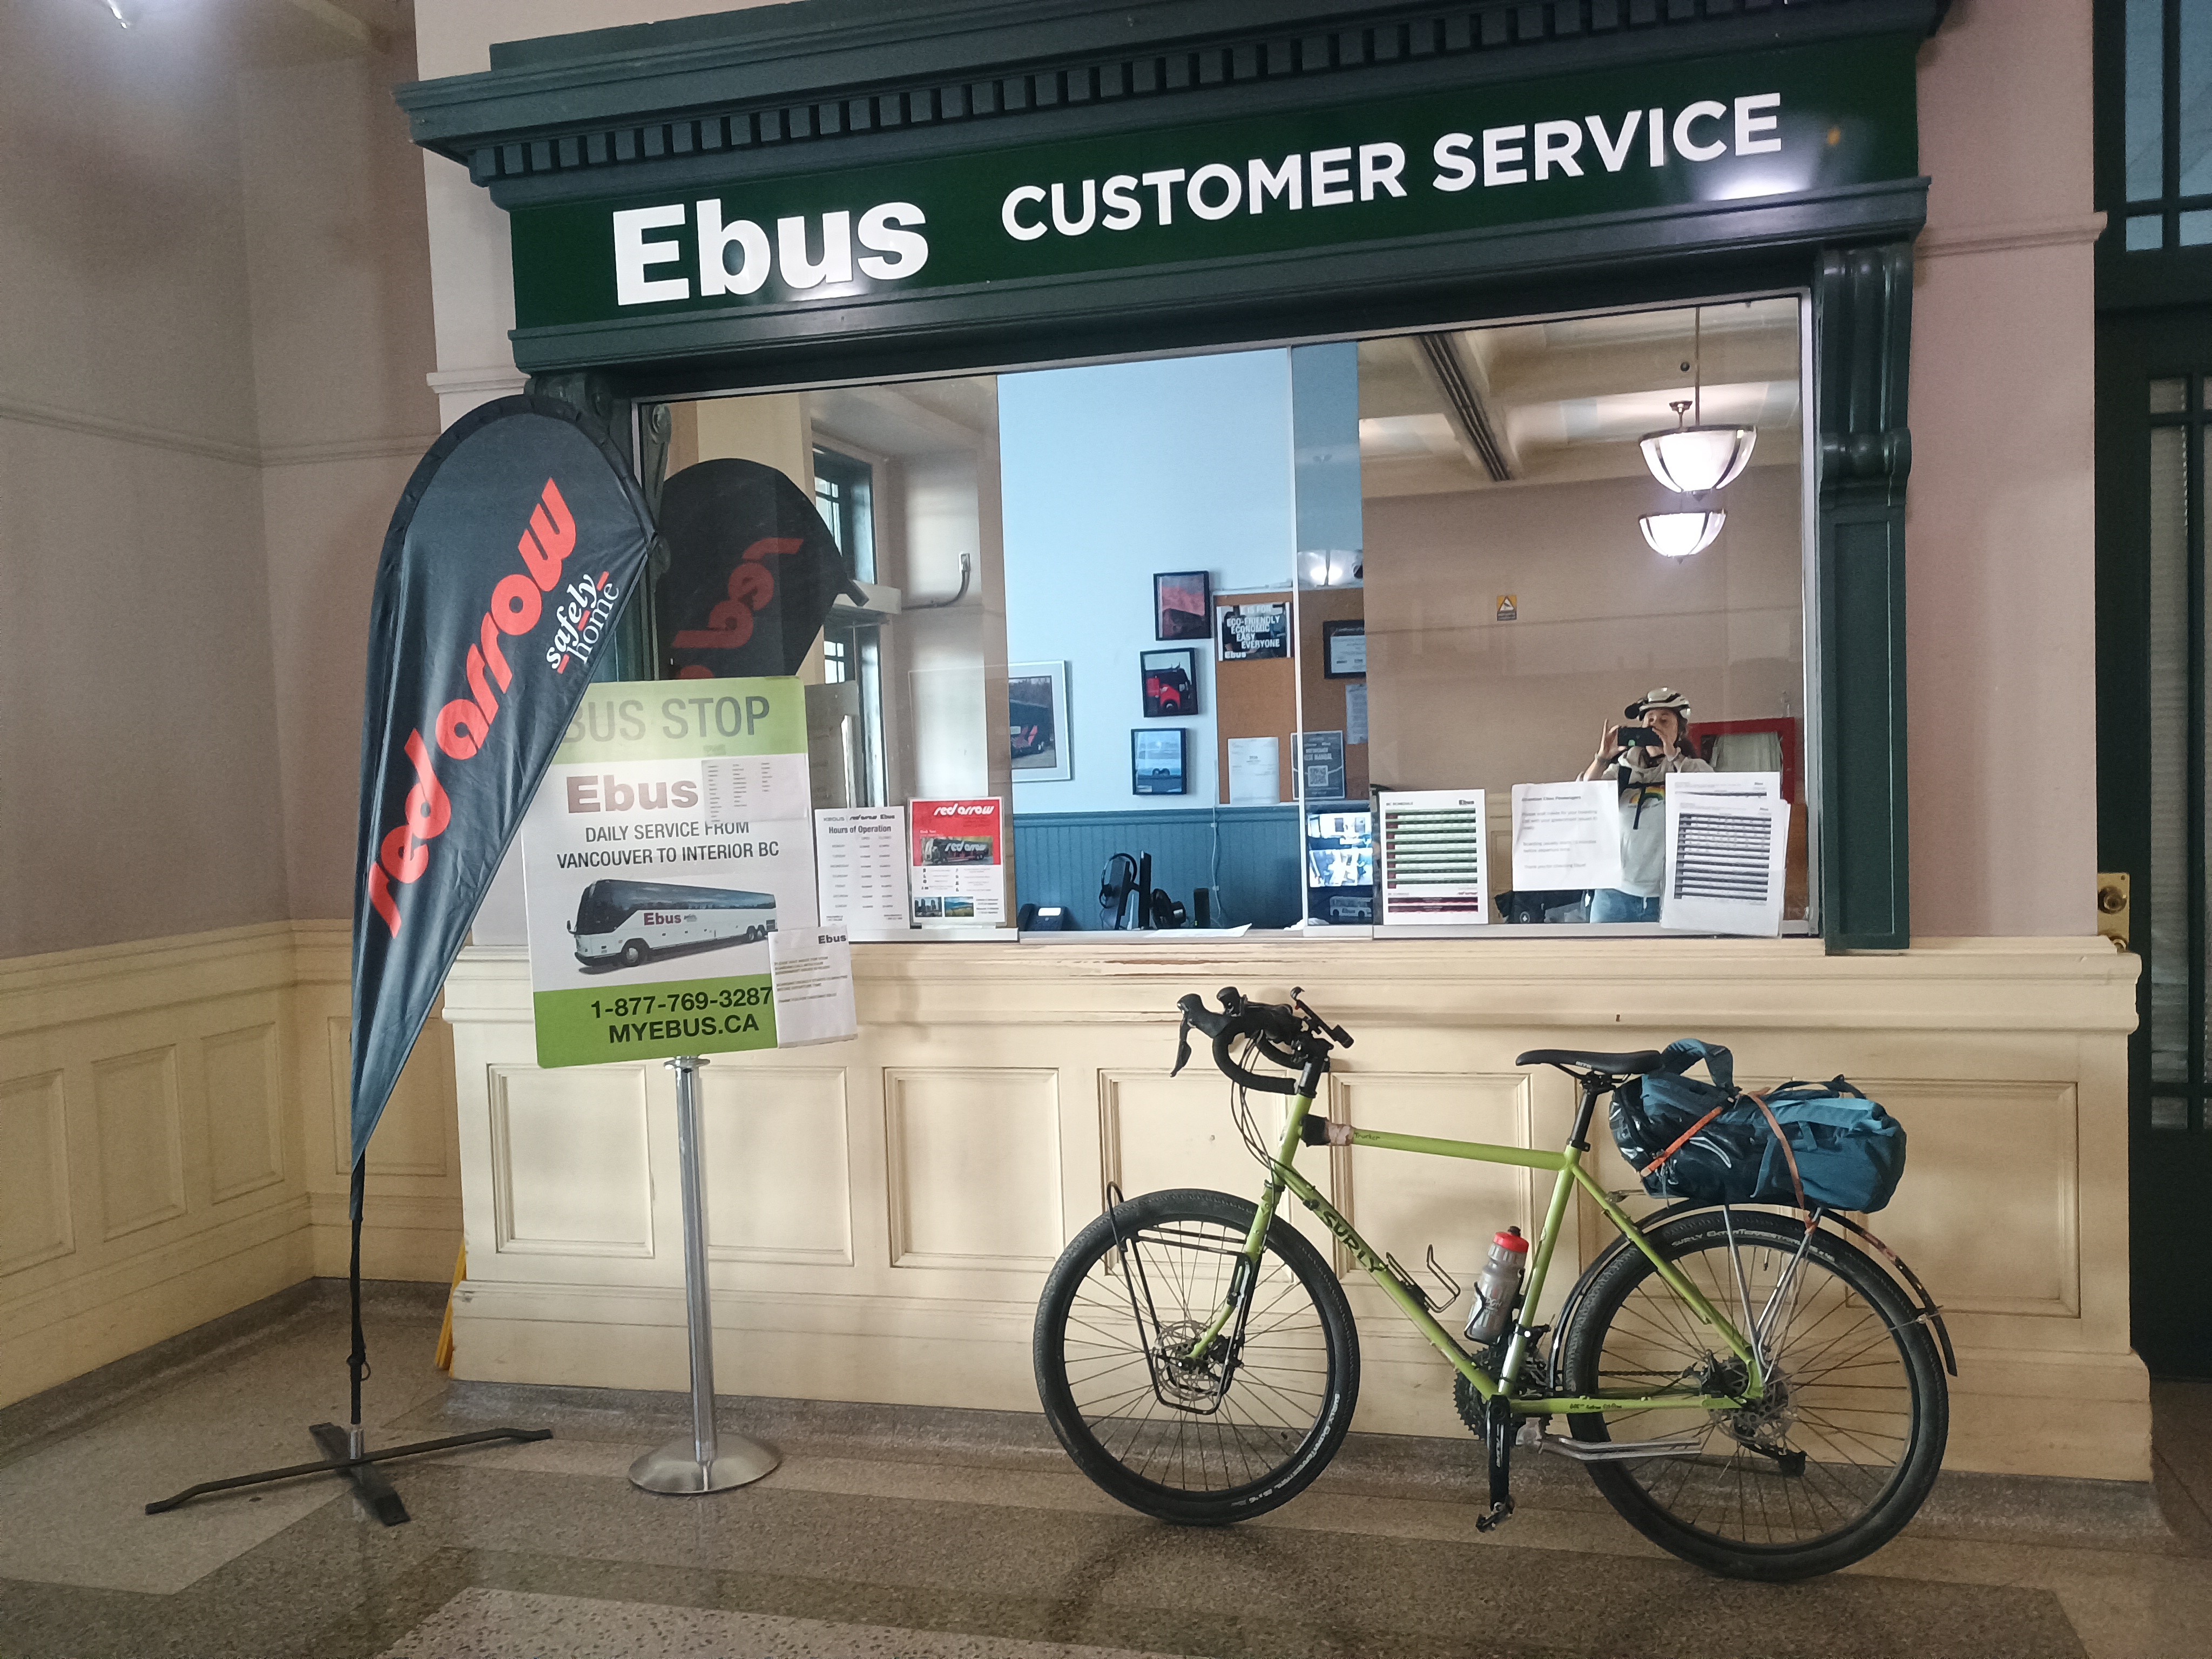
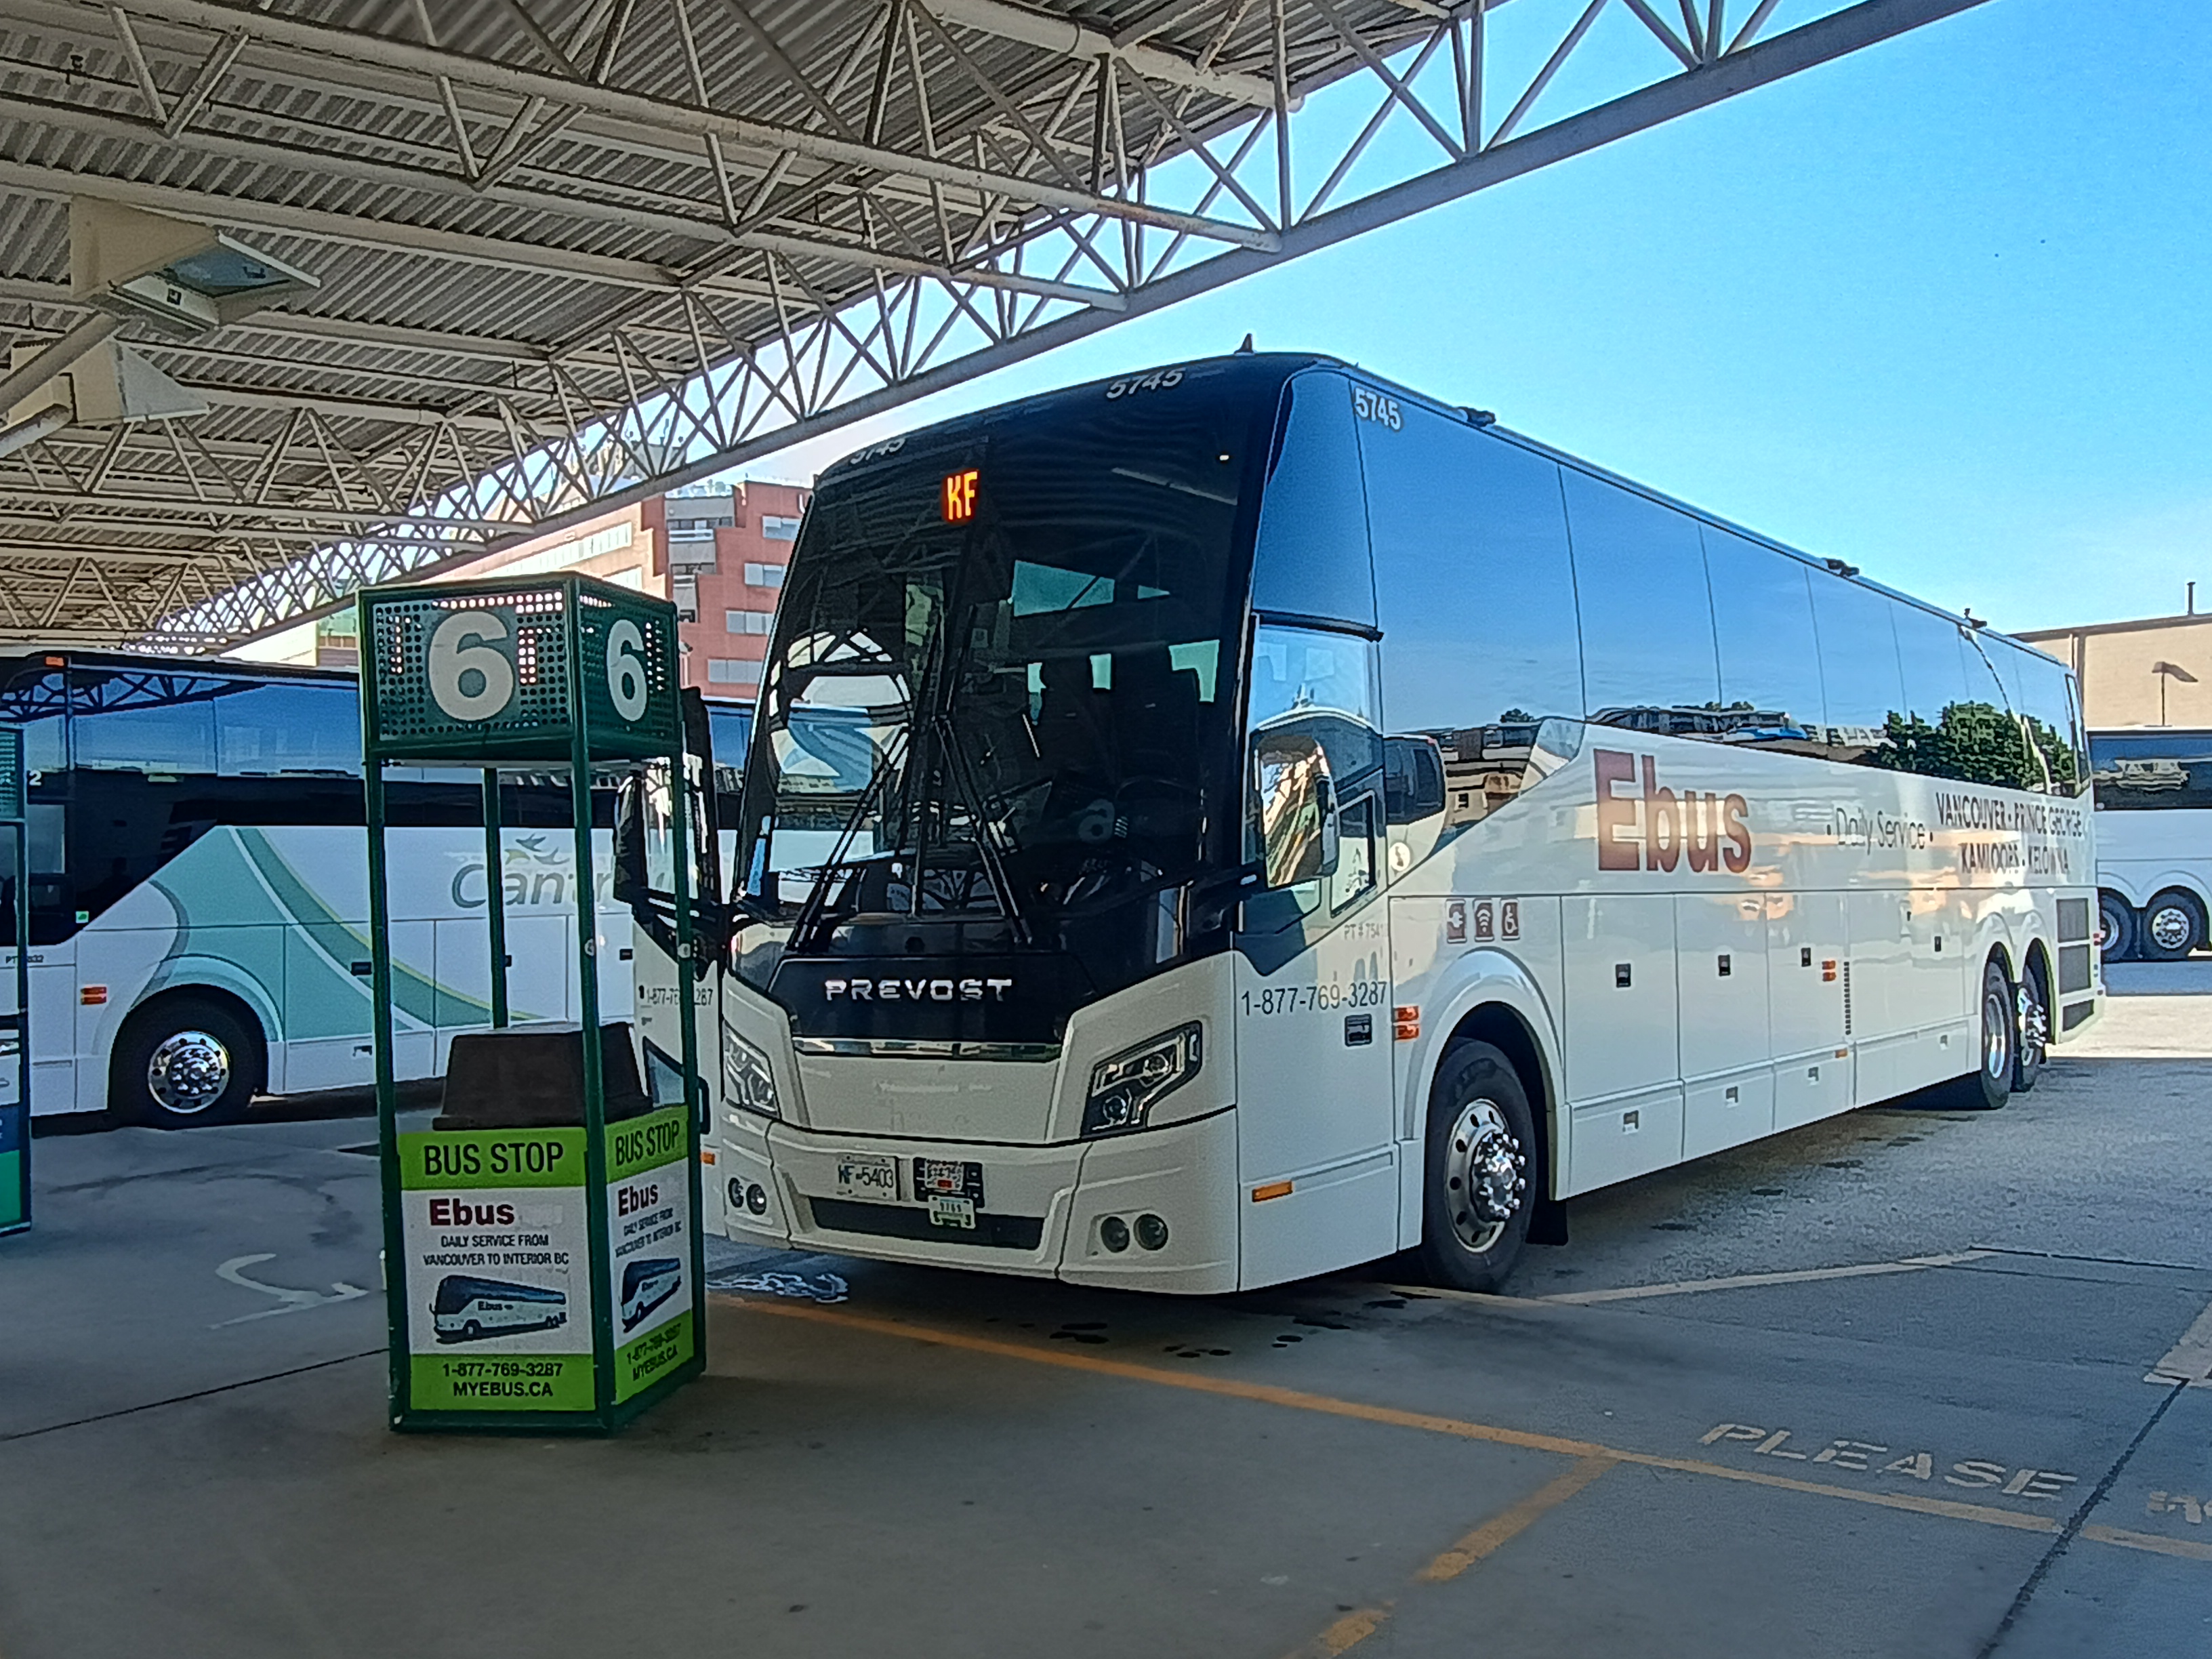
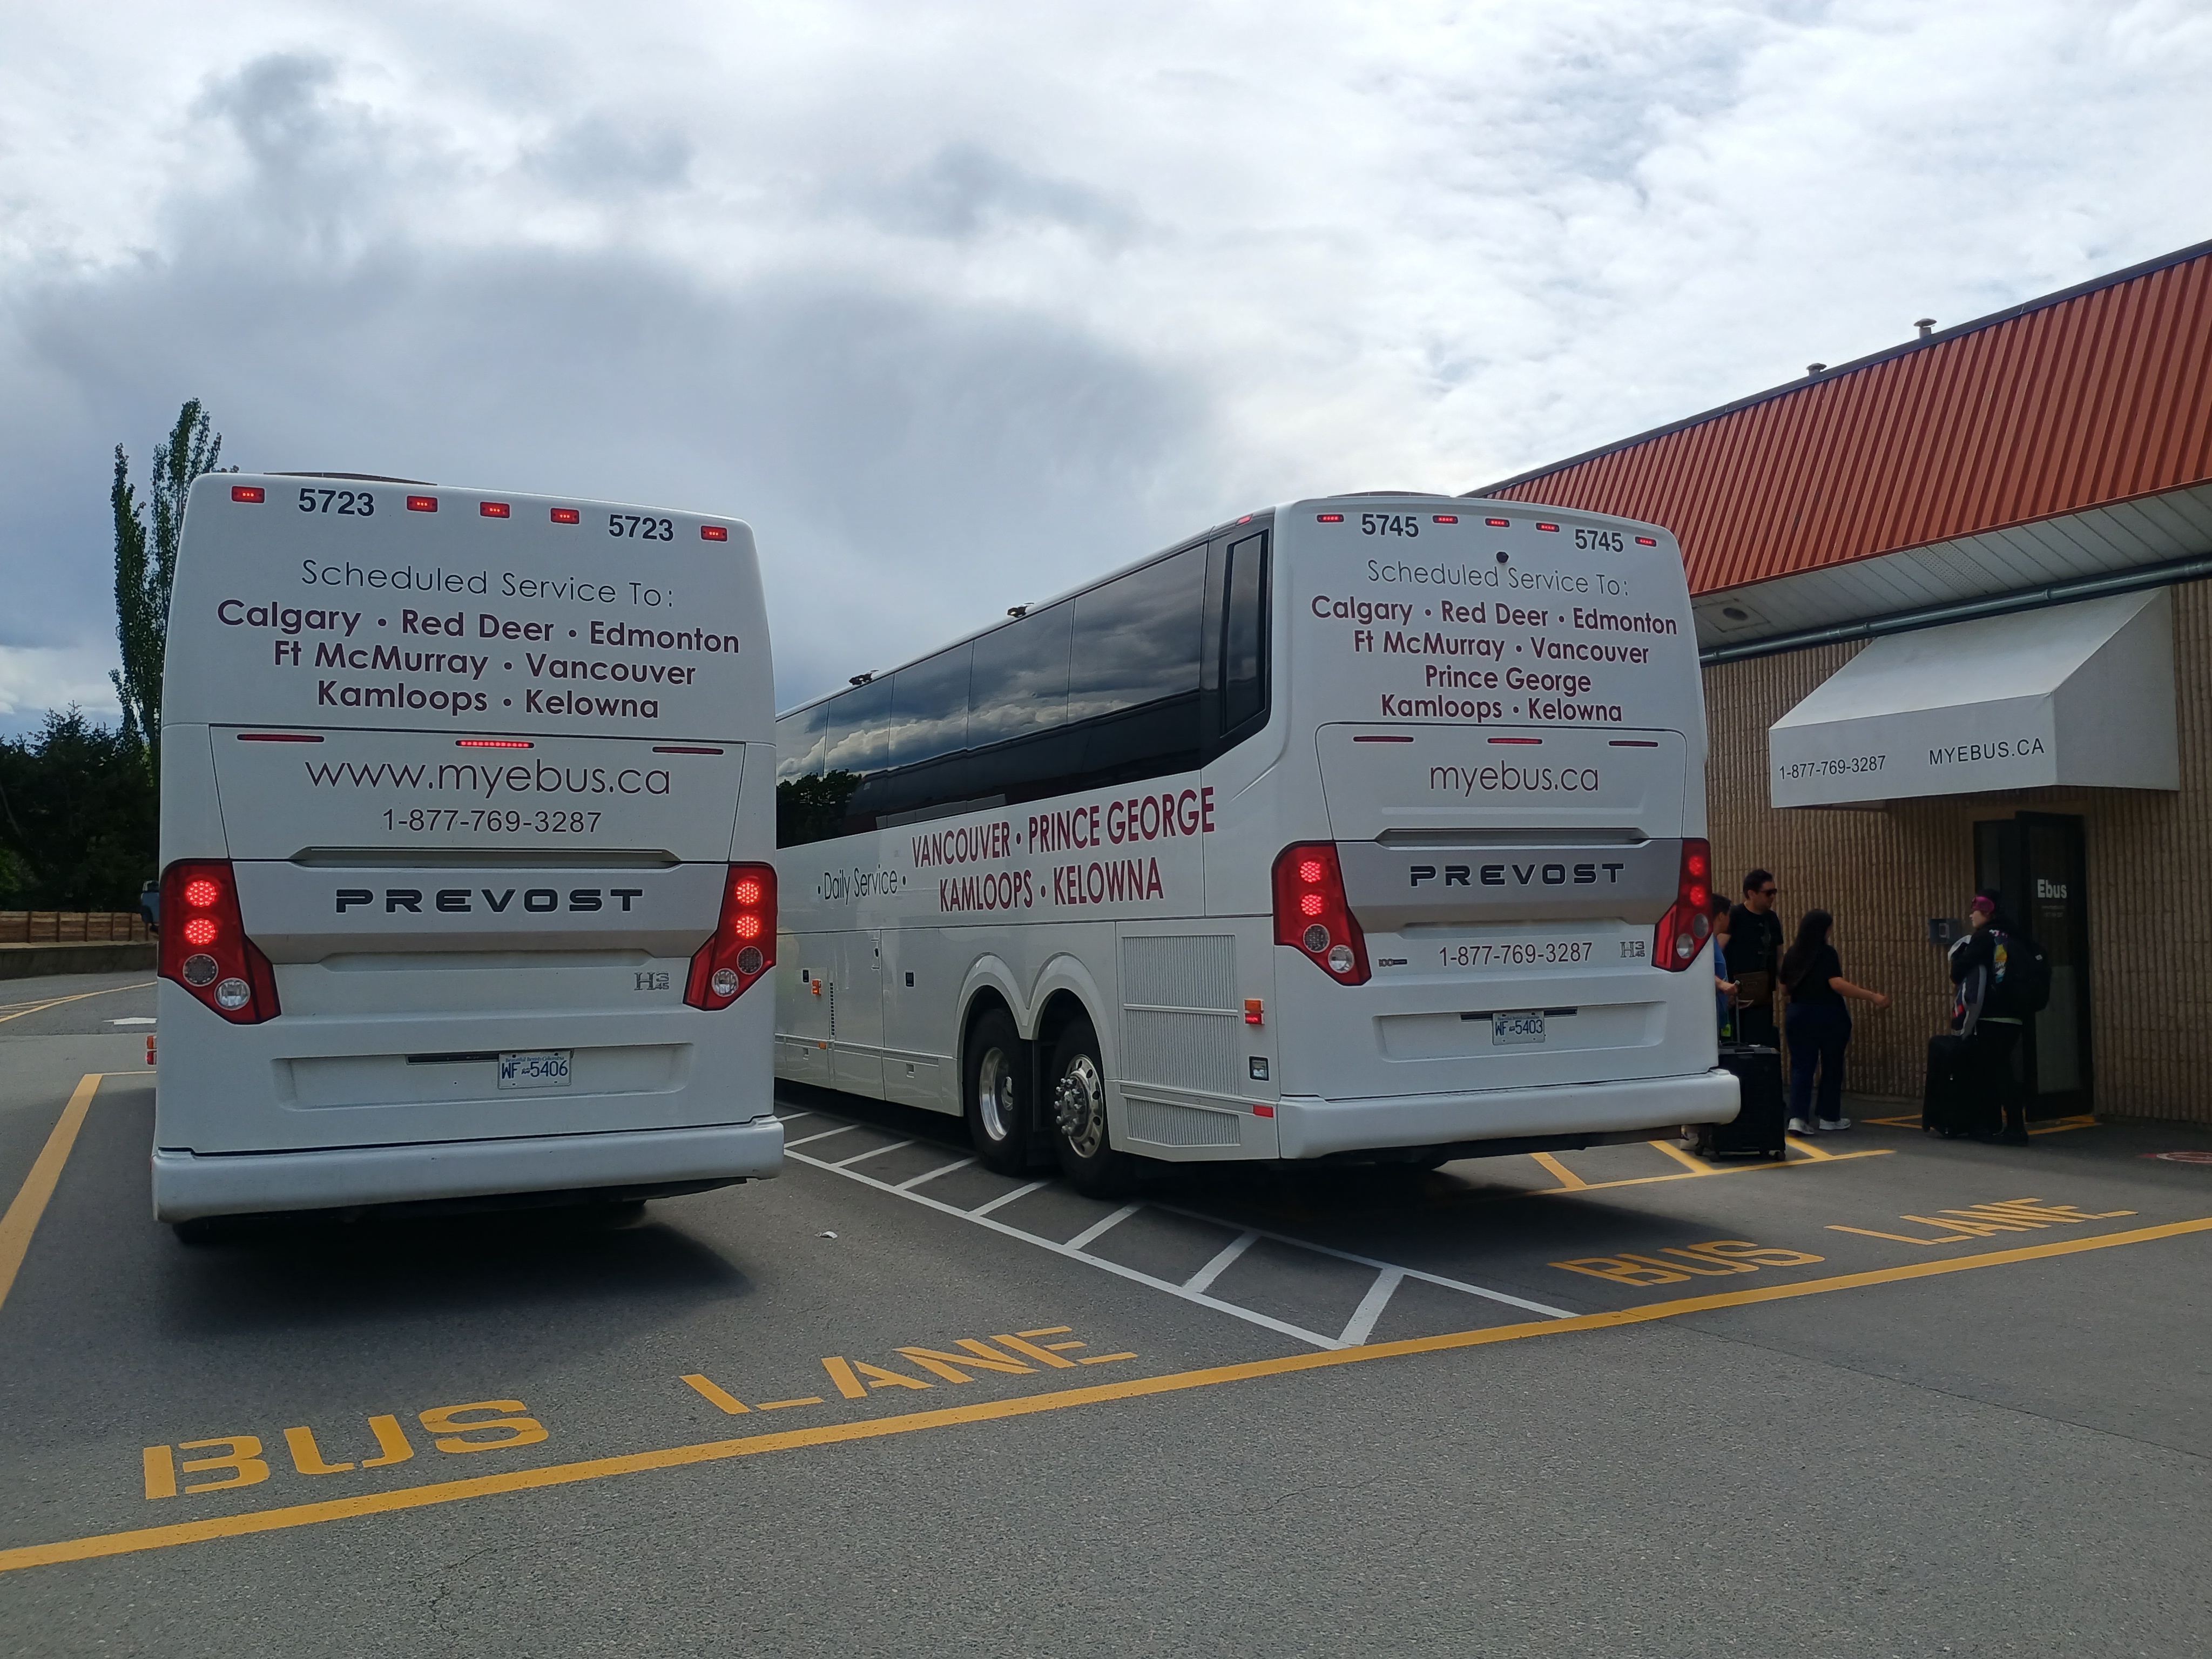
eBus has the most extensive network for cyclists. BC stops include Vancouver, Surrey, Chilliwack, Hope, Merritt, Kamloops, Salmon Arm, Sicamous, Armstrong, Vernon, Kelowna, Revelstoke, Golden, Quesnel, Williams Lake, and Prince George. Bike fee: $30.
Rider Express runs two BC-relevant routes: the Vancouver–Calgary corridor (Vancouver, Surrey, Abbotsford, Chilliwack, Hope, Merritt, Kamloops, Salmon Arm, Sicamous, Revelstoke, Golden) and a separate Kelowna–Salmon Arm route (Kelowna, Vernon, Armstrong, Enderby, Salmon Arm). Bike fee: $60, or $50 if booked online in advance.
YVR Skylynx runs Vancouver to Squamish to Whistler. One bike per passenger is free.
All three of these operators require your bike to be in a bag or box for transport, which we cover below.
IslandLink unfortunately DOES NOT ACCEPT BIKES.
BC also has several regional coach and shuttle operators... many of them don't require special bike handling, just show up with your bike and put it on the rack.
NOTE: E-Bikes have different policies not covered here.
Step by step#
1. Buy your ticket. Specify you are bringing a bike.
2. Decide if you are going to box or bag your bike. We'll cover boxing in a different how-to. The advantage to bagging a bike is that the bag is more portable — it makes it easier to bike to or from the bus station.
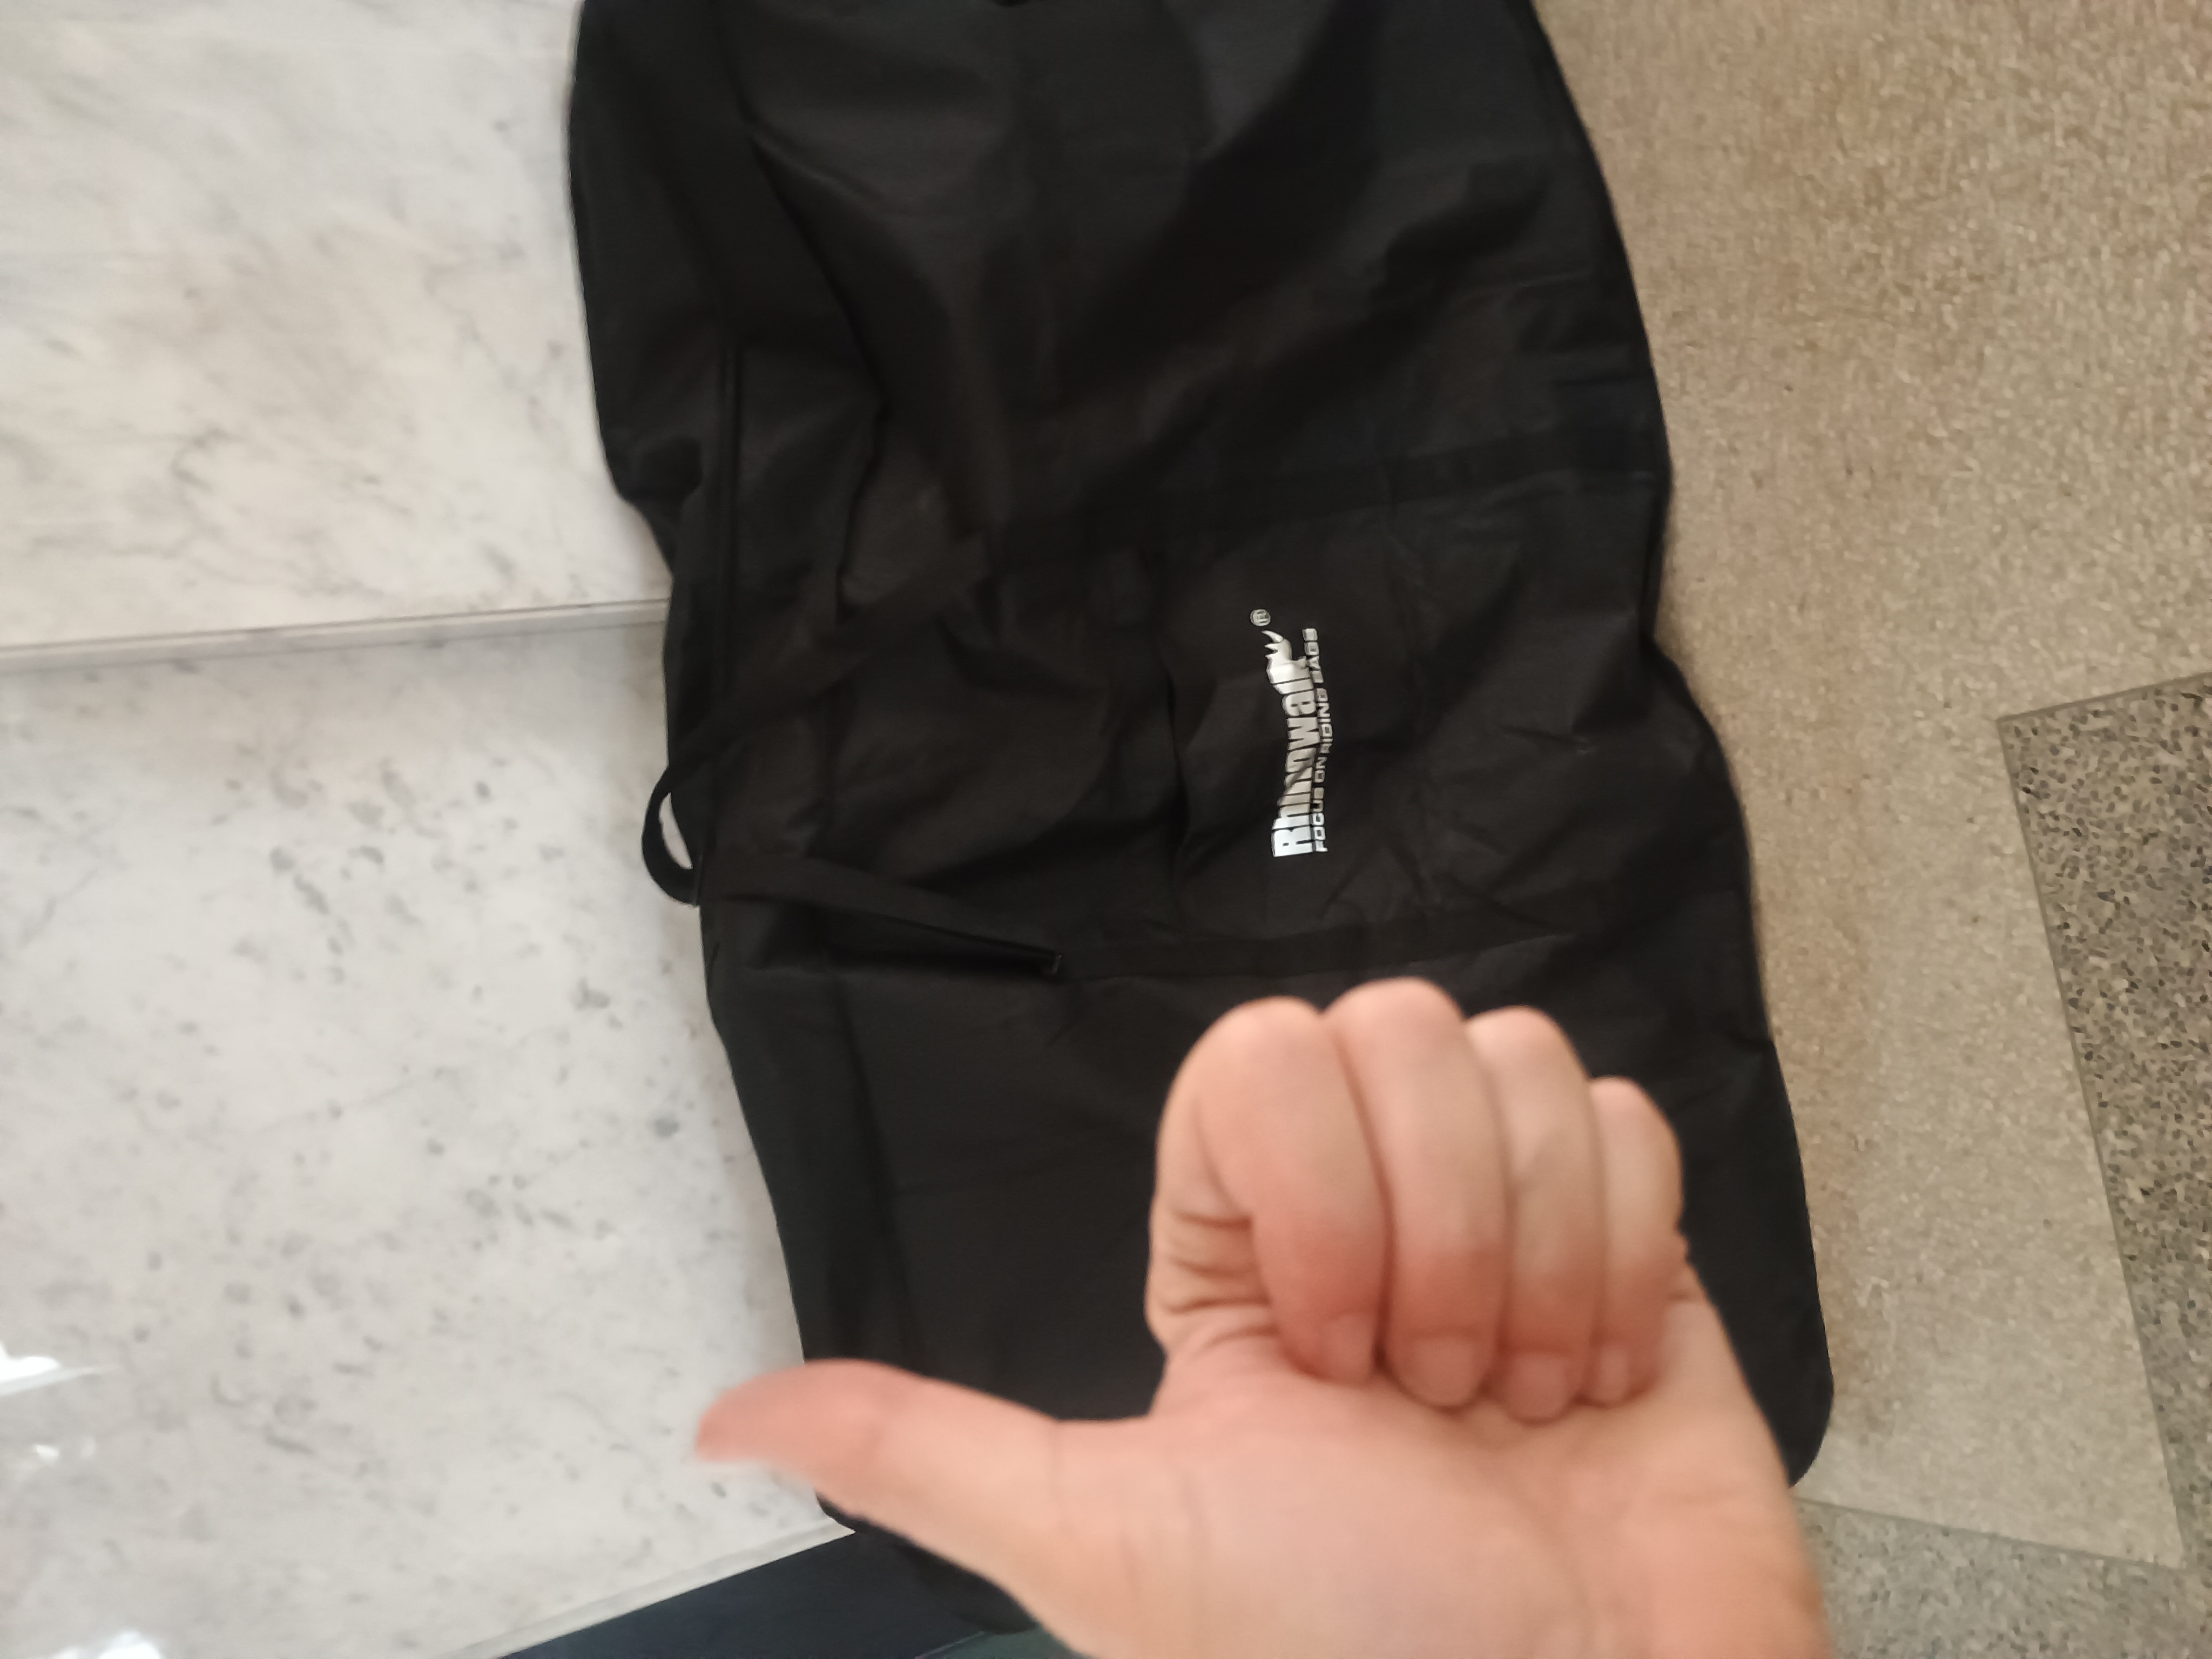
3. Get a bike bag. We've had good luck with a large one made of sturdy material: the "Bike Carry Bag Bike Travel Case for 26-29 inch Folding Bike MTB Road Bike Transport Carrying Case", the 29-inch version, for $60.99 on Amazon.ca. It's also available directly from the manufacturer Rhinowalk as the "27.5 inch/700C Portable MTB Storage Bag" for about $60. It fits a straight-bar bike or a drop-bar bike.
4. Bike to the bus station with the bike bag.
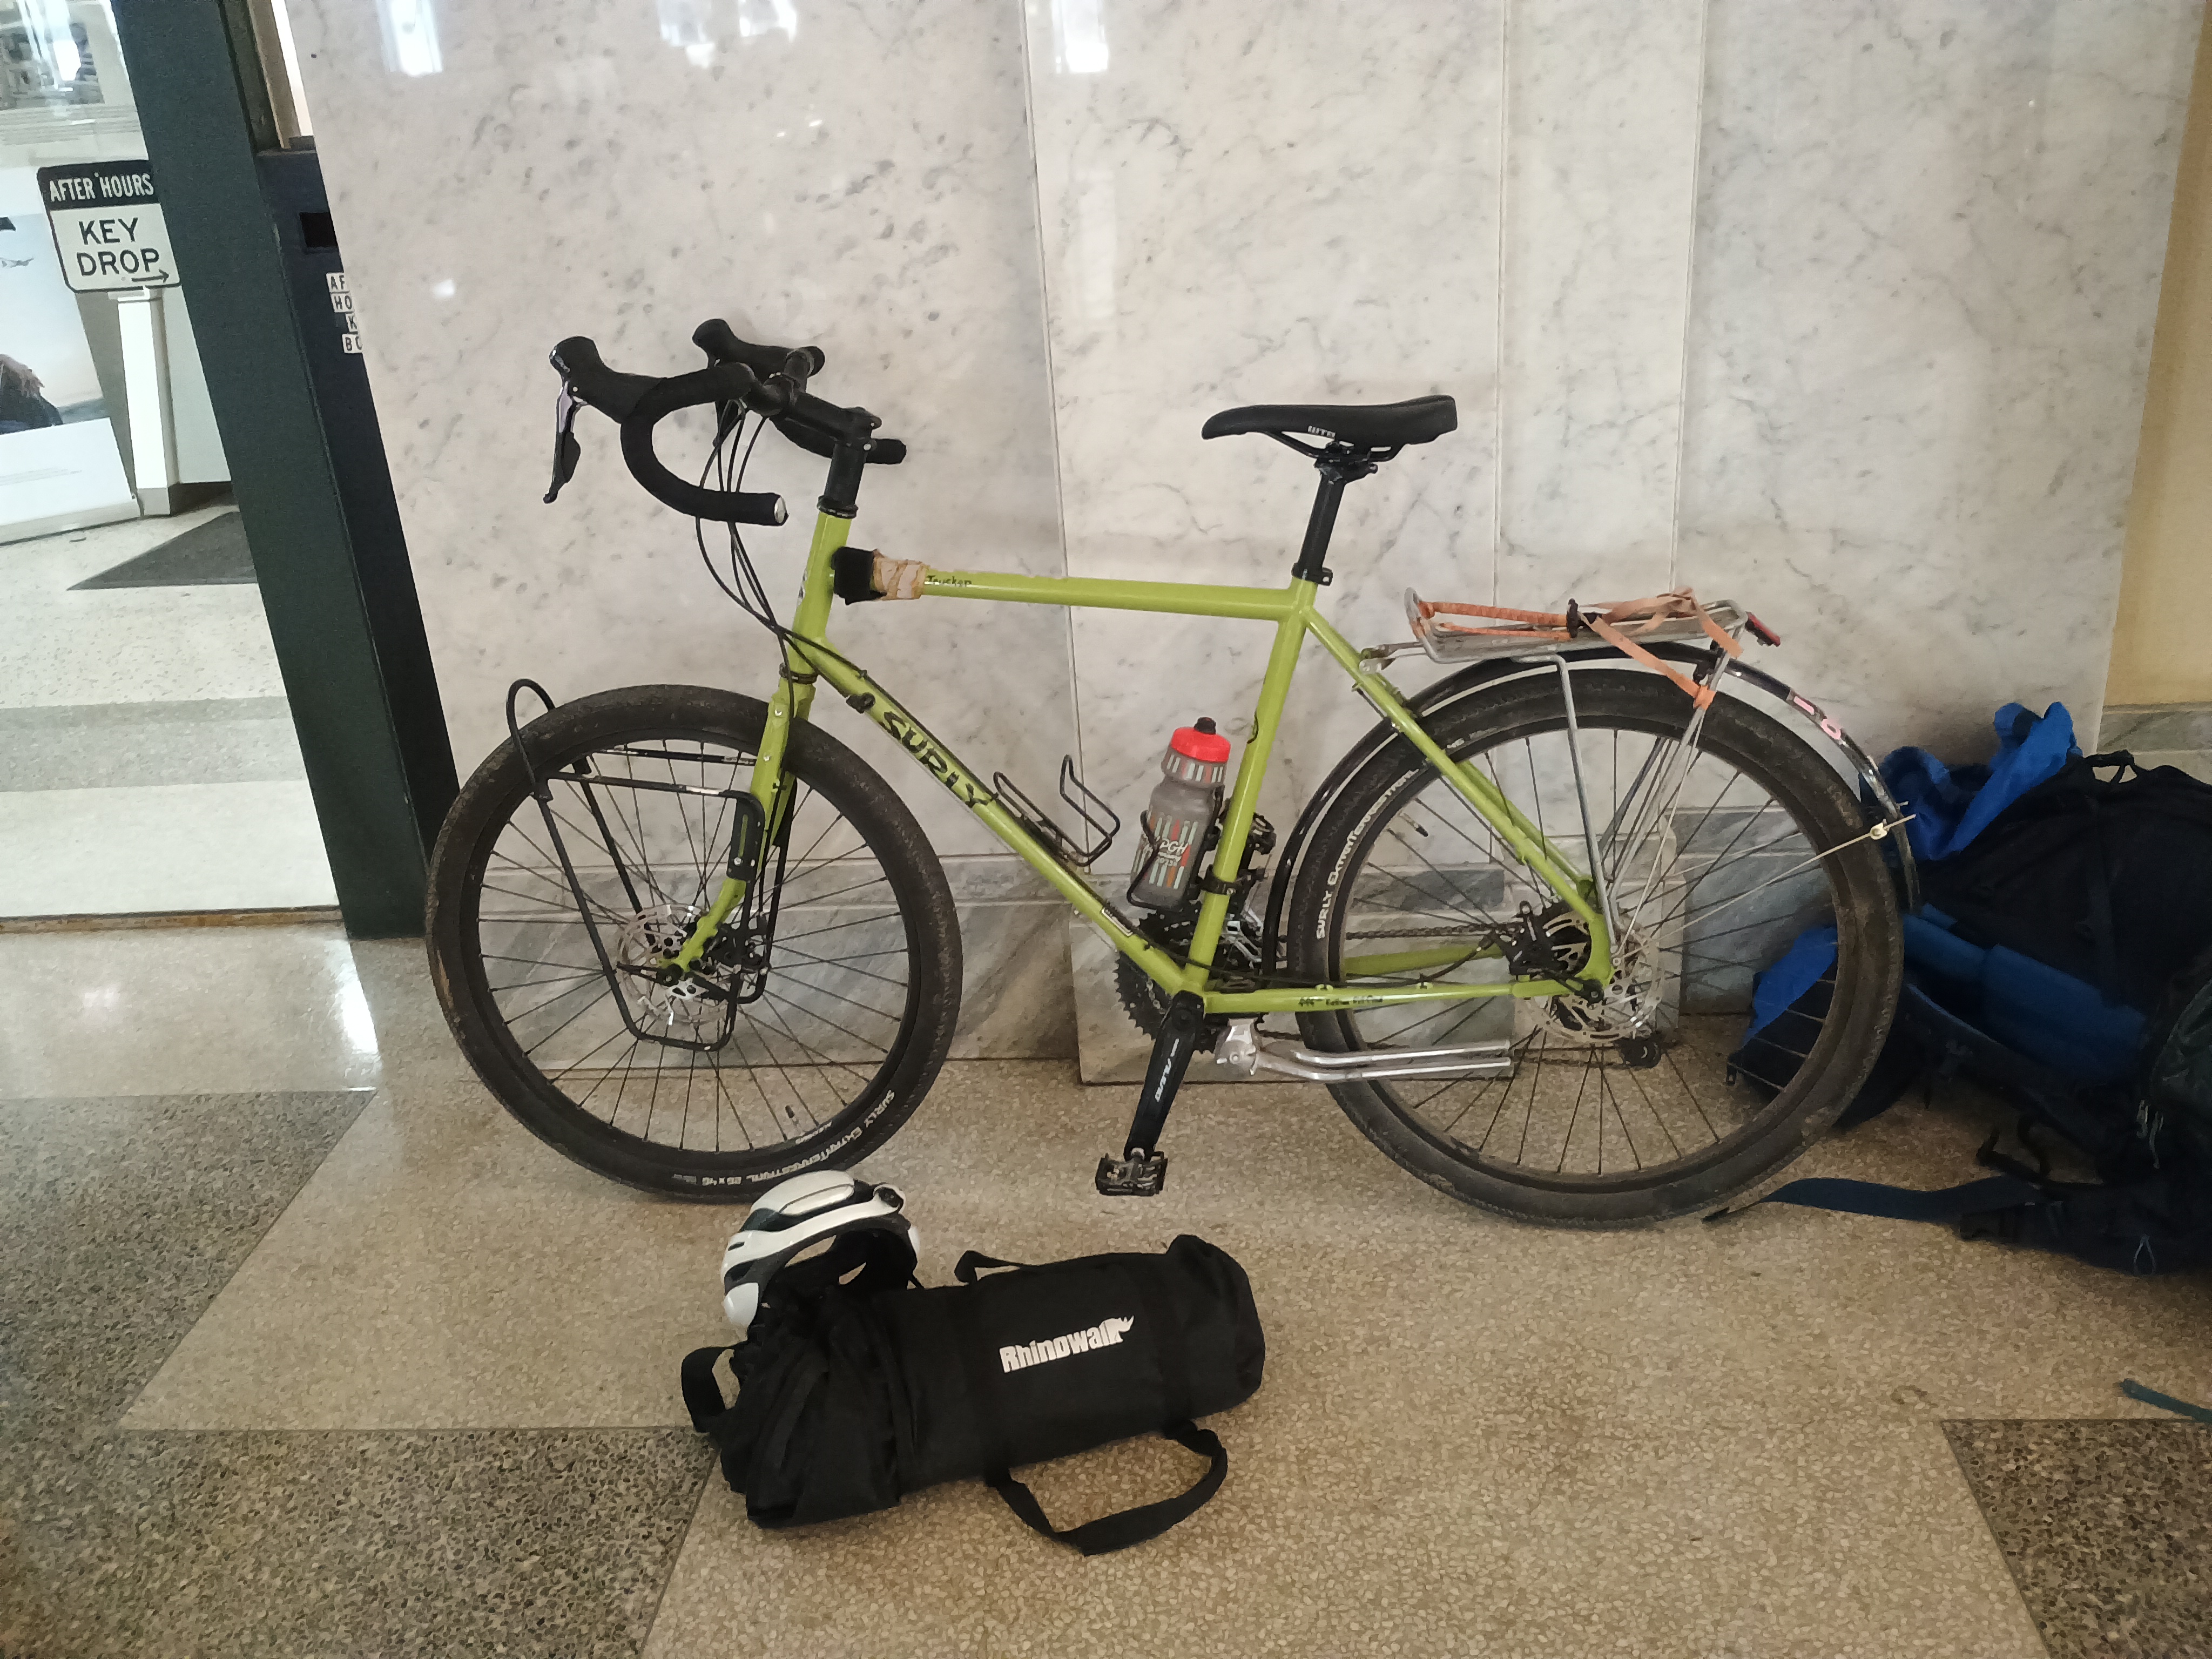
5. Take all the bags off your bike, but you can probably leave your racks and accessories on it.
6. Turn your front handlebars sideways, so they are parallel to your bike. On a drop bar bike you may also have to rotate the curl of your handlebars so they tuck in a bit. Here is a video on how to do that.

7. Take off your front wheel.
8. Put your bike in the bike bag, minus the front wheel.
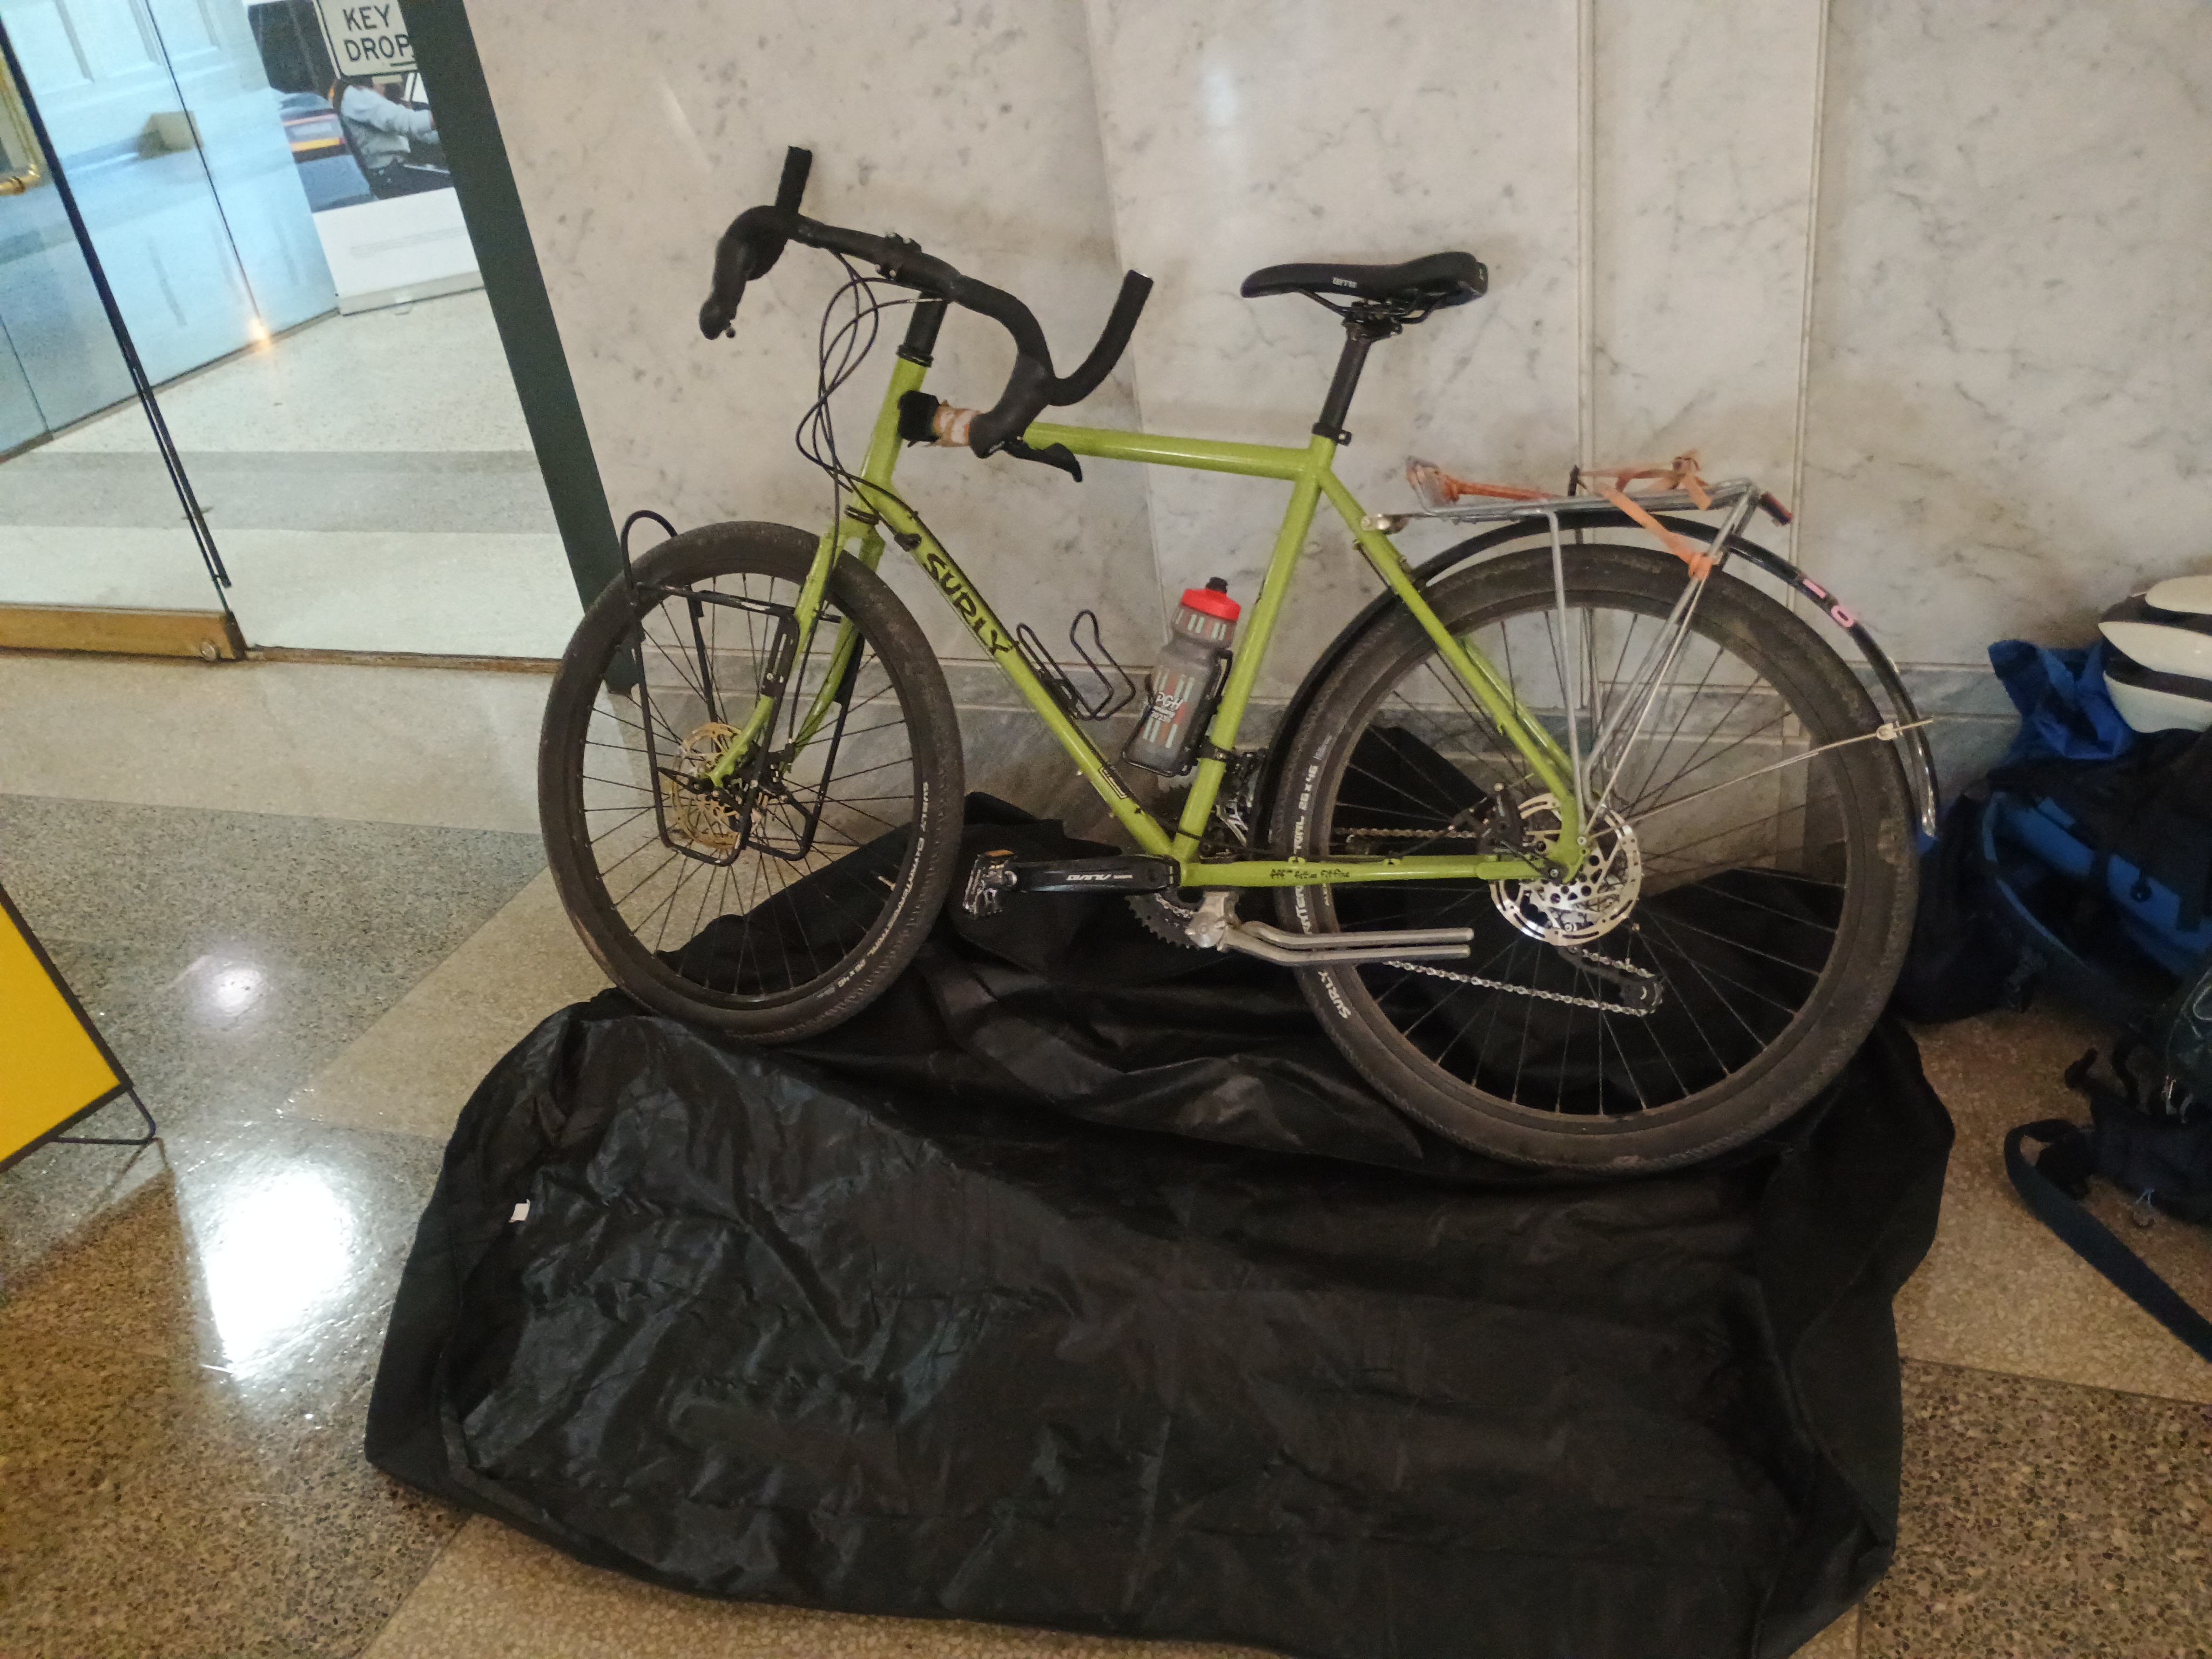
9. Pad the disc brake rotor of your front wheel (I used spare bike shorts... try not to touch or get oils on the shiny rotor part) if you have disc brakes, then put the wheel in the bike bag beside your bike frame. Use a bungee cord to secure it to the frame if you want.

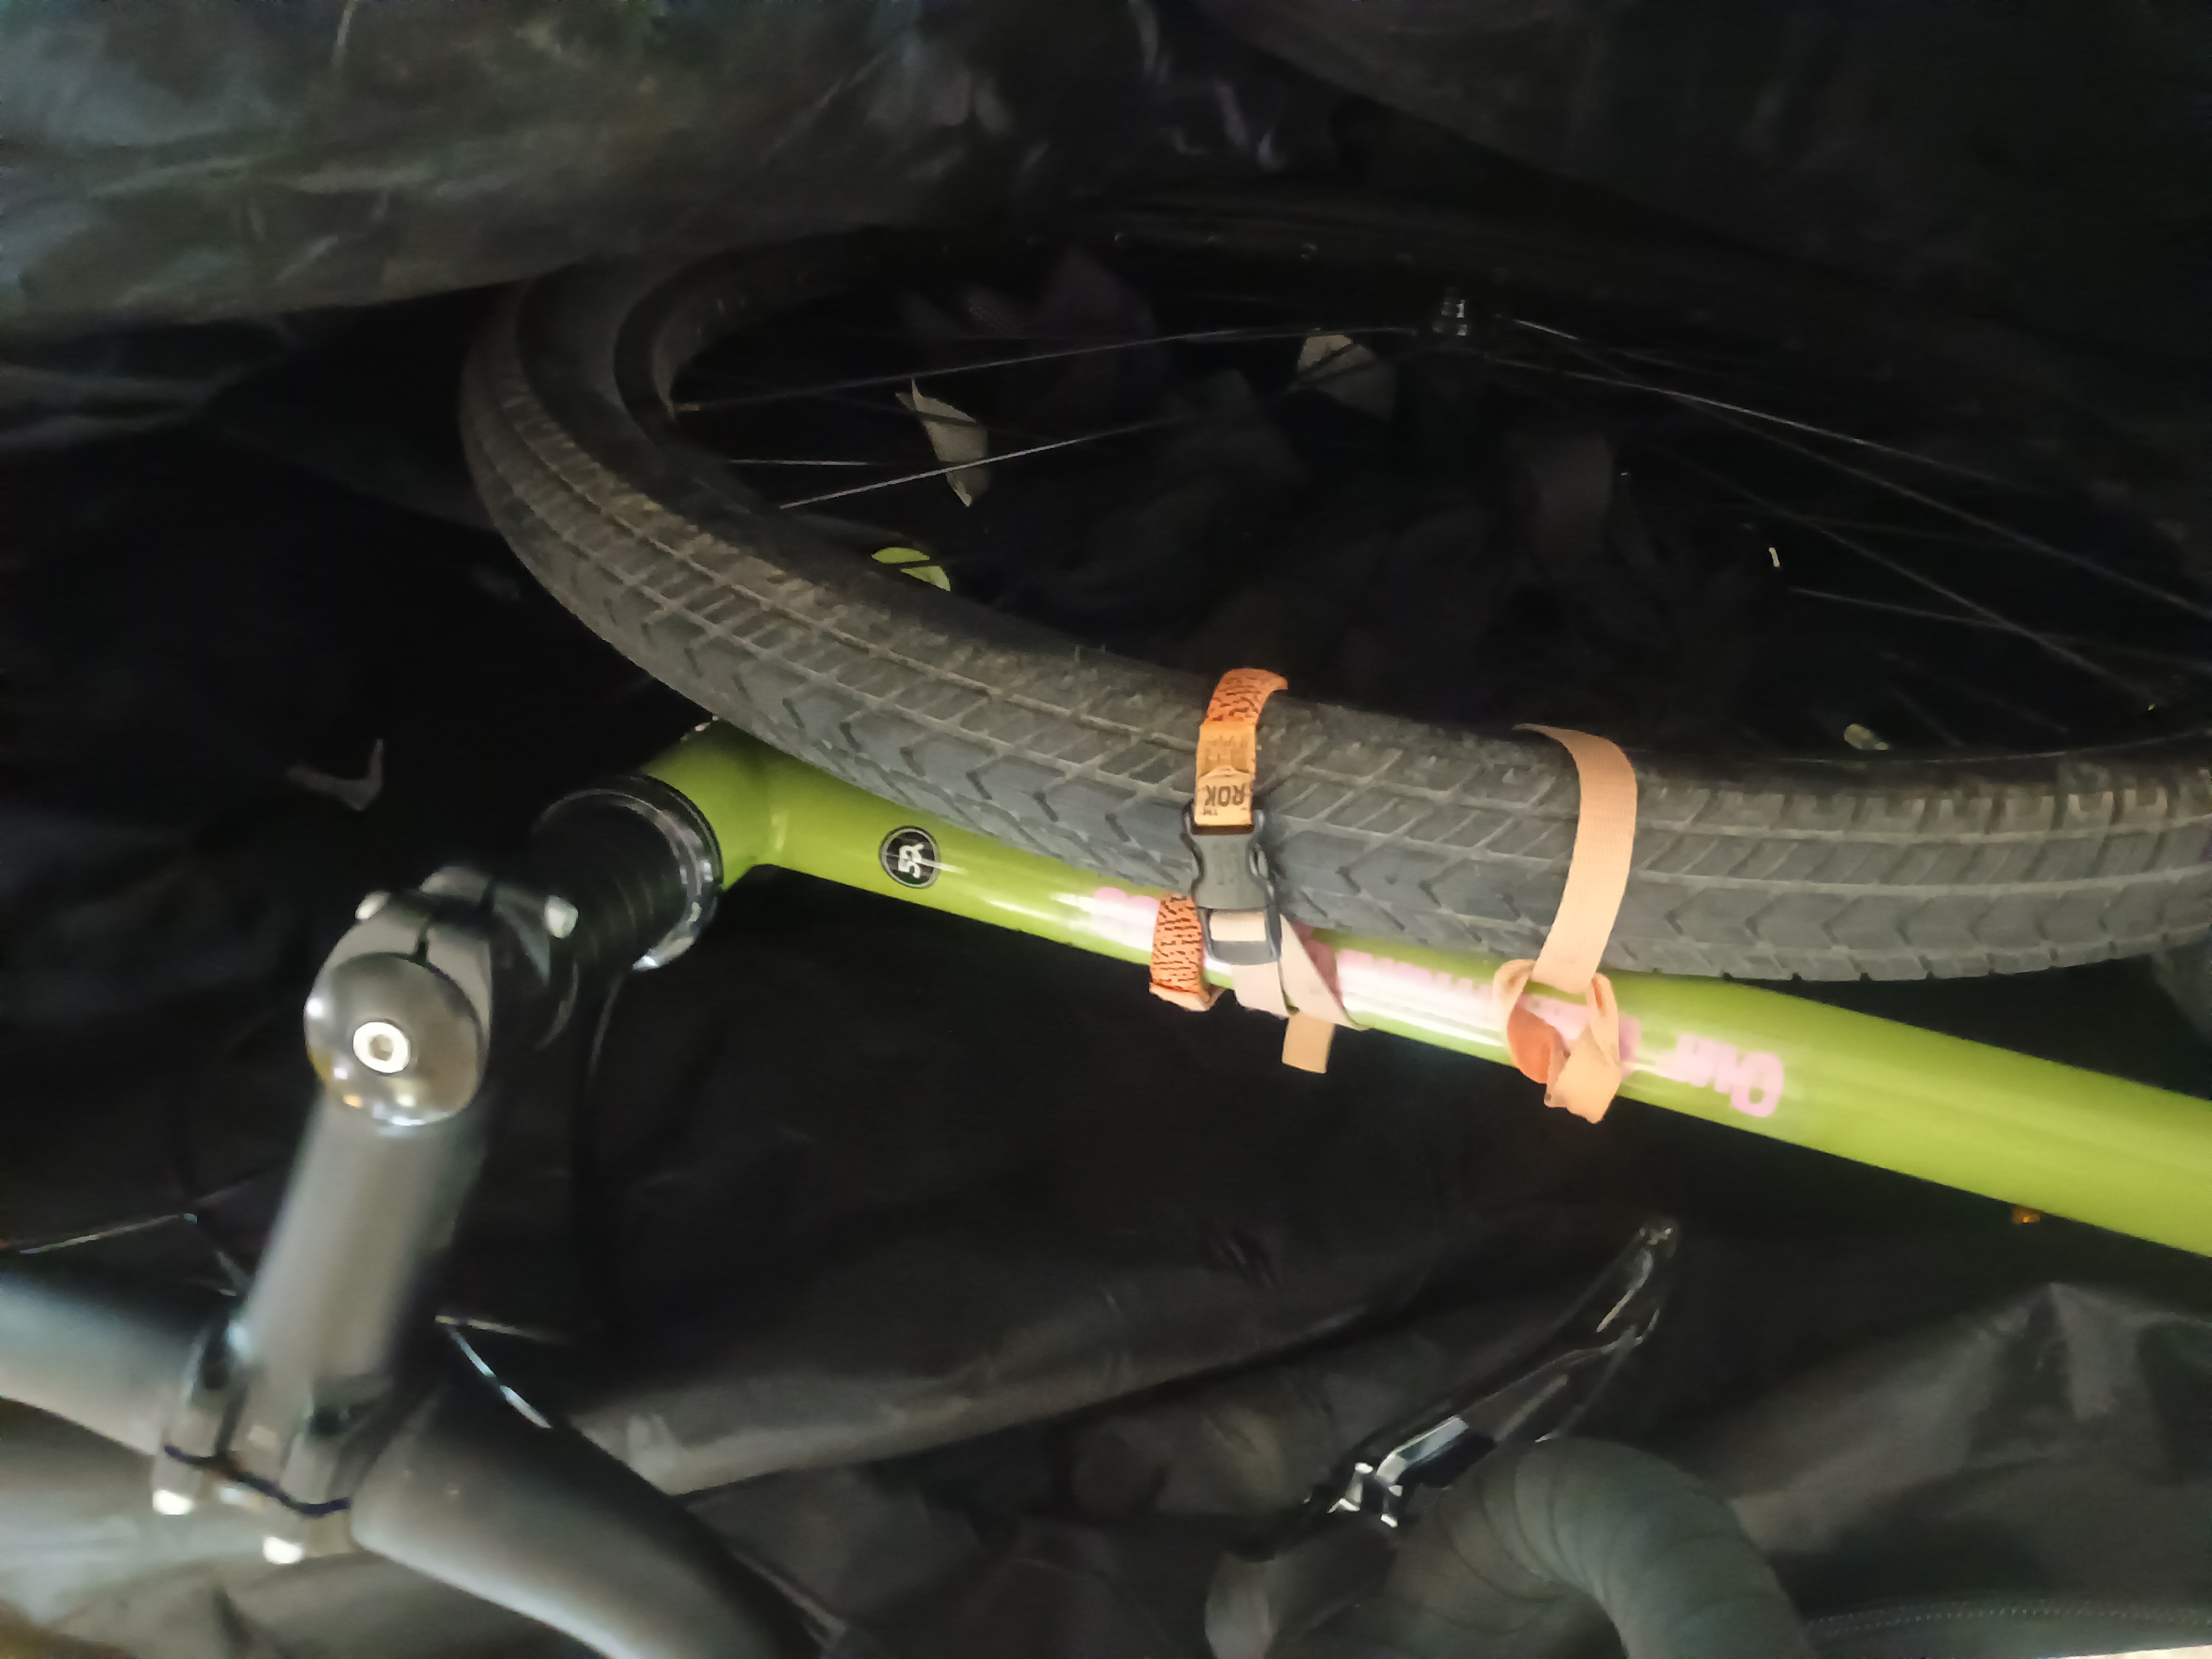
10. Zip up the bike bag and you are ready to go! No need to remove the pedals with this size of bike bag, take off the seat, or do anything else fancy. Because you are going to be with your bike for almost all of its movement, we haven't found it necessary to pad the bike within the bag. Note: if your bike is a fragile, expensive go-fast bike, you may want to pad it more.
11. Kill a bit of time! In our experience, packing the bike into a bag takes less than 20 minutes after you've done it a few times. Give yourself extra time to decrease stress, but you probably won't need it.
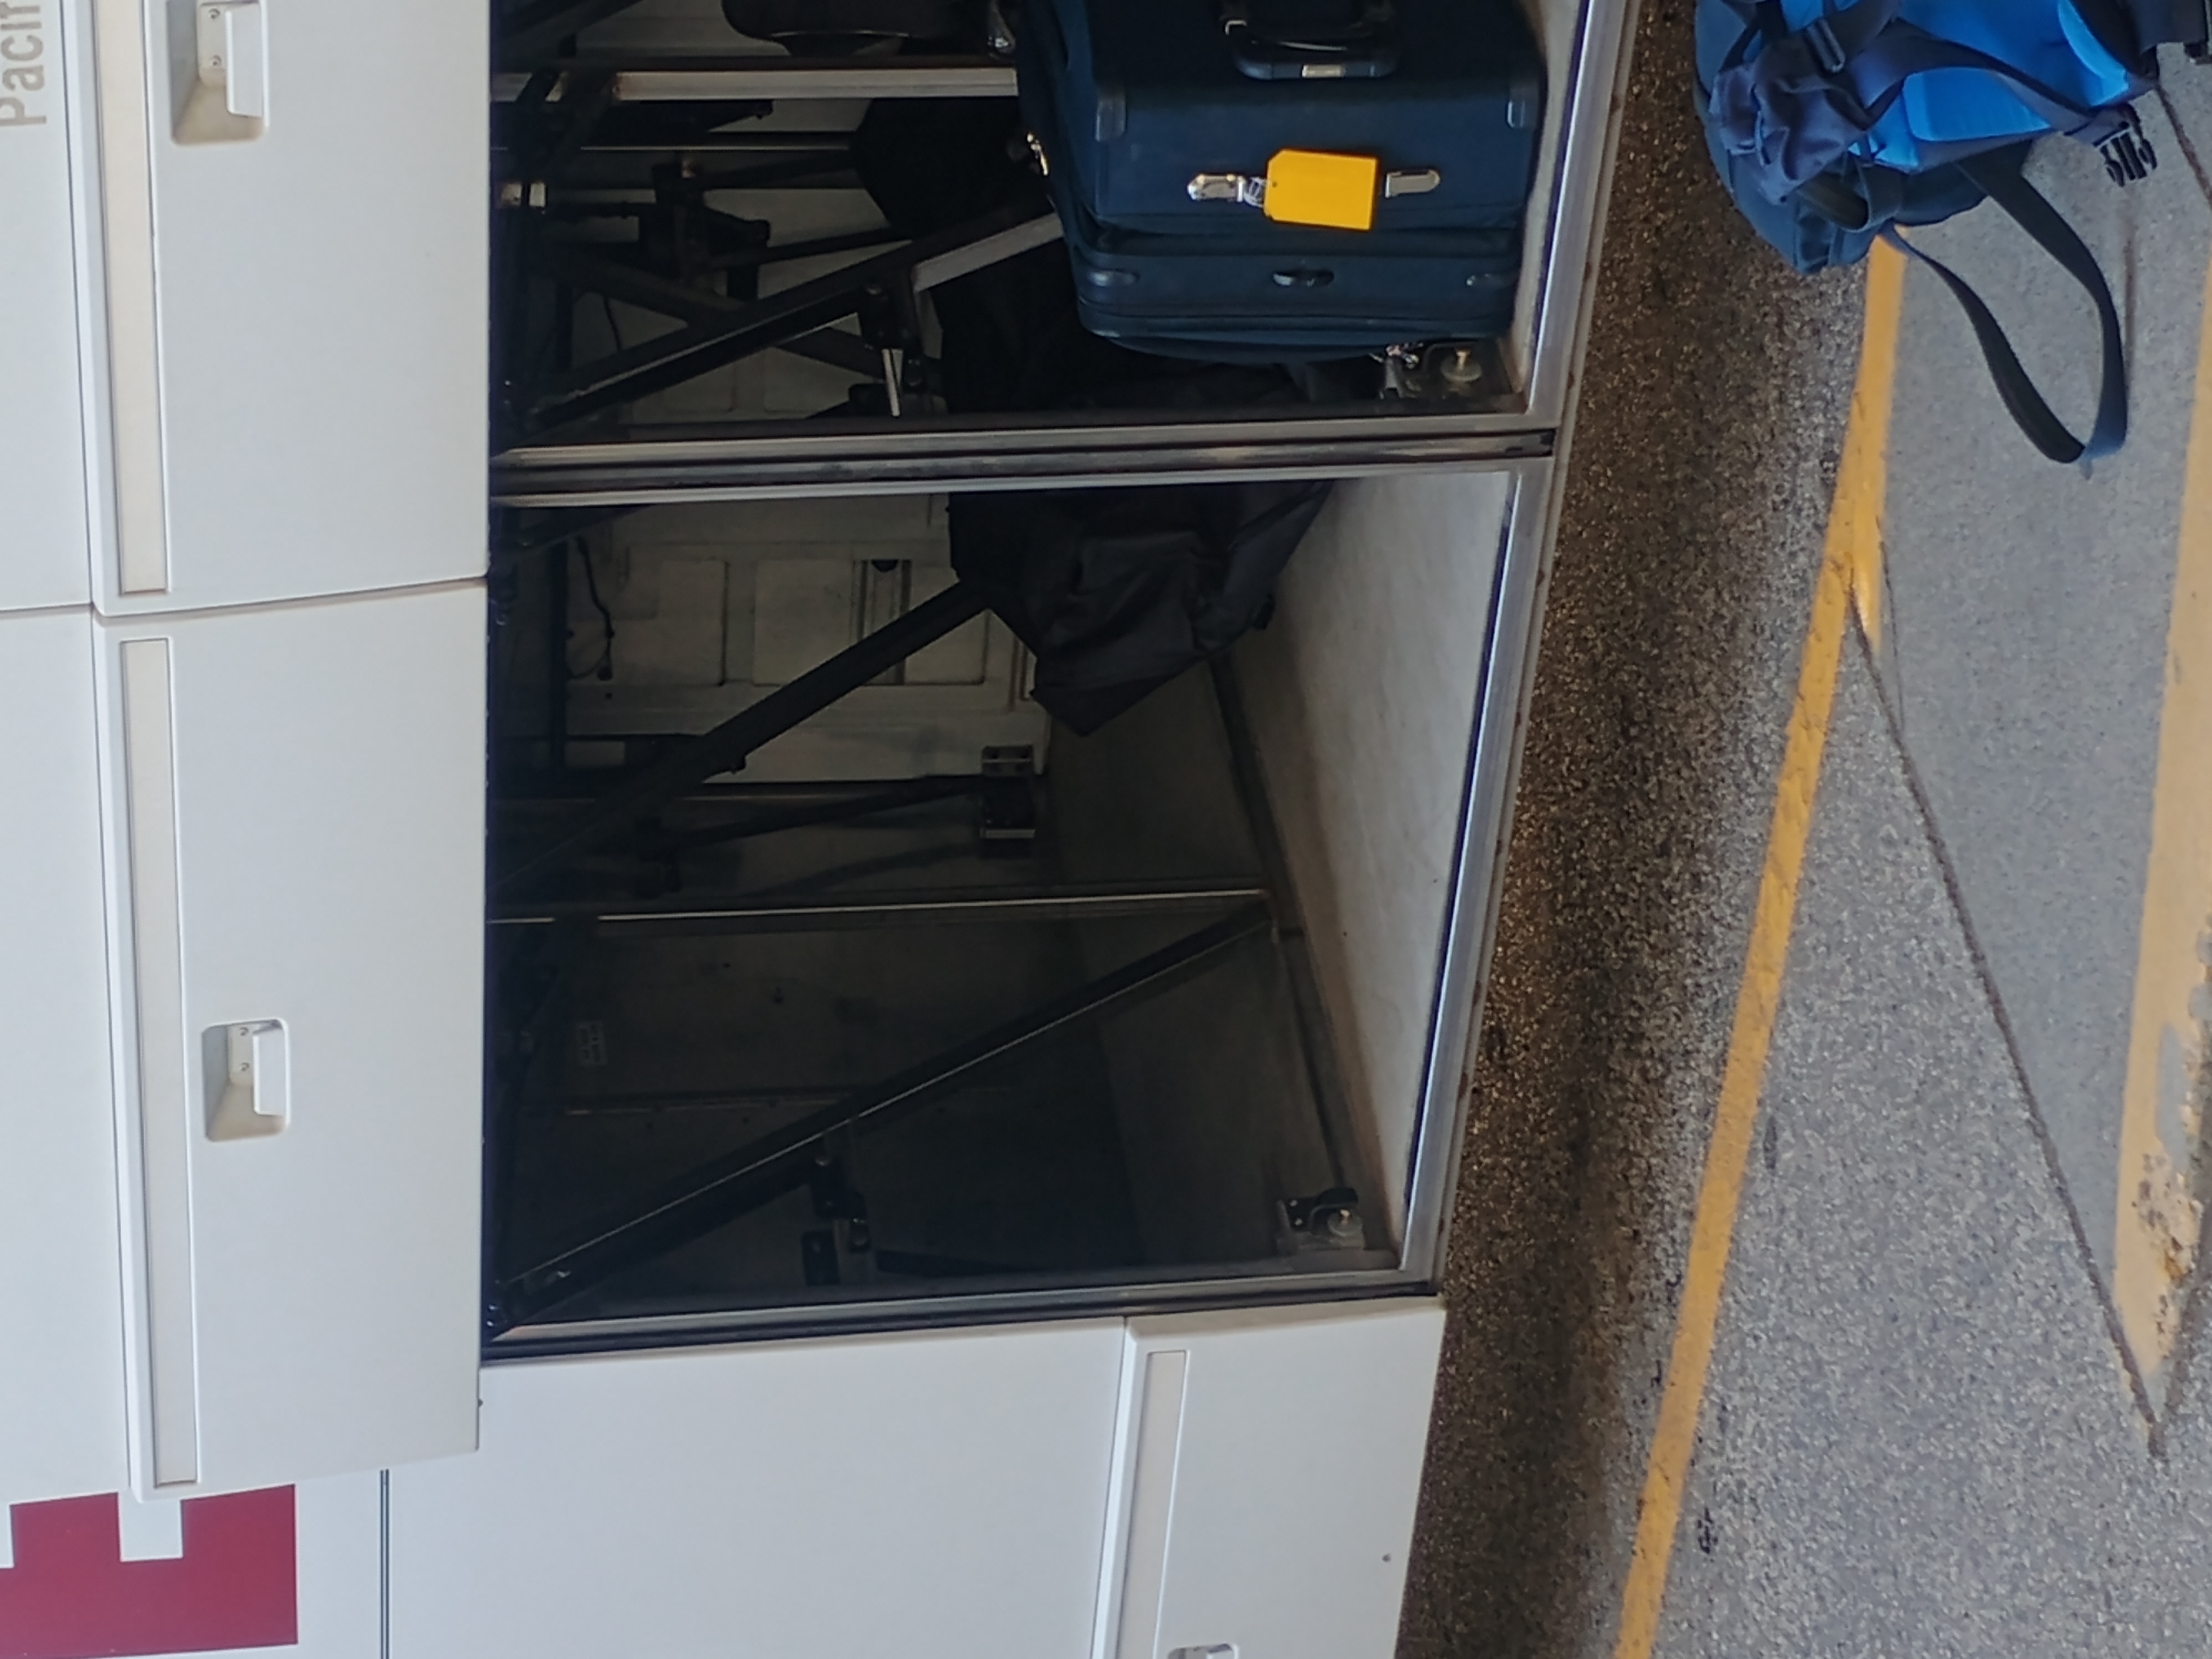
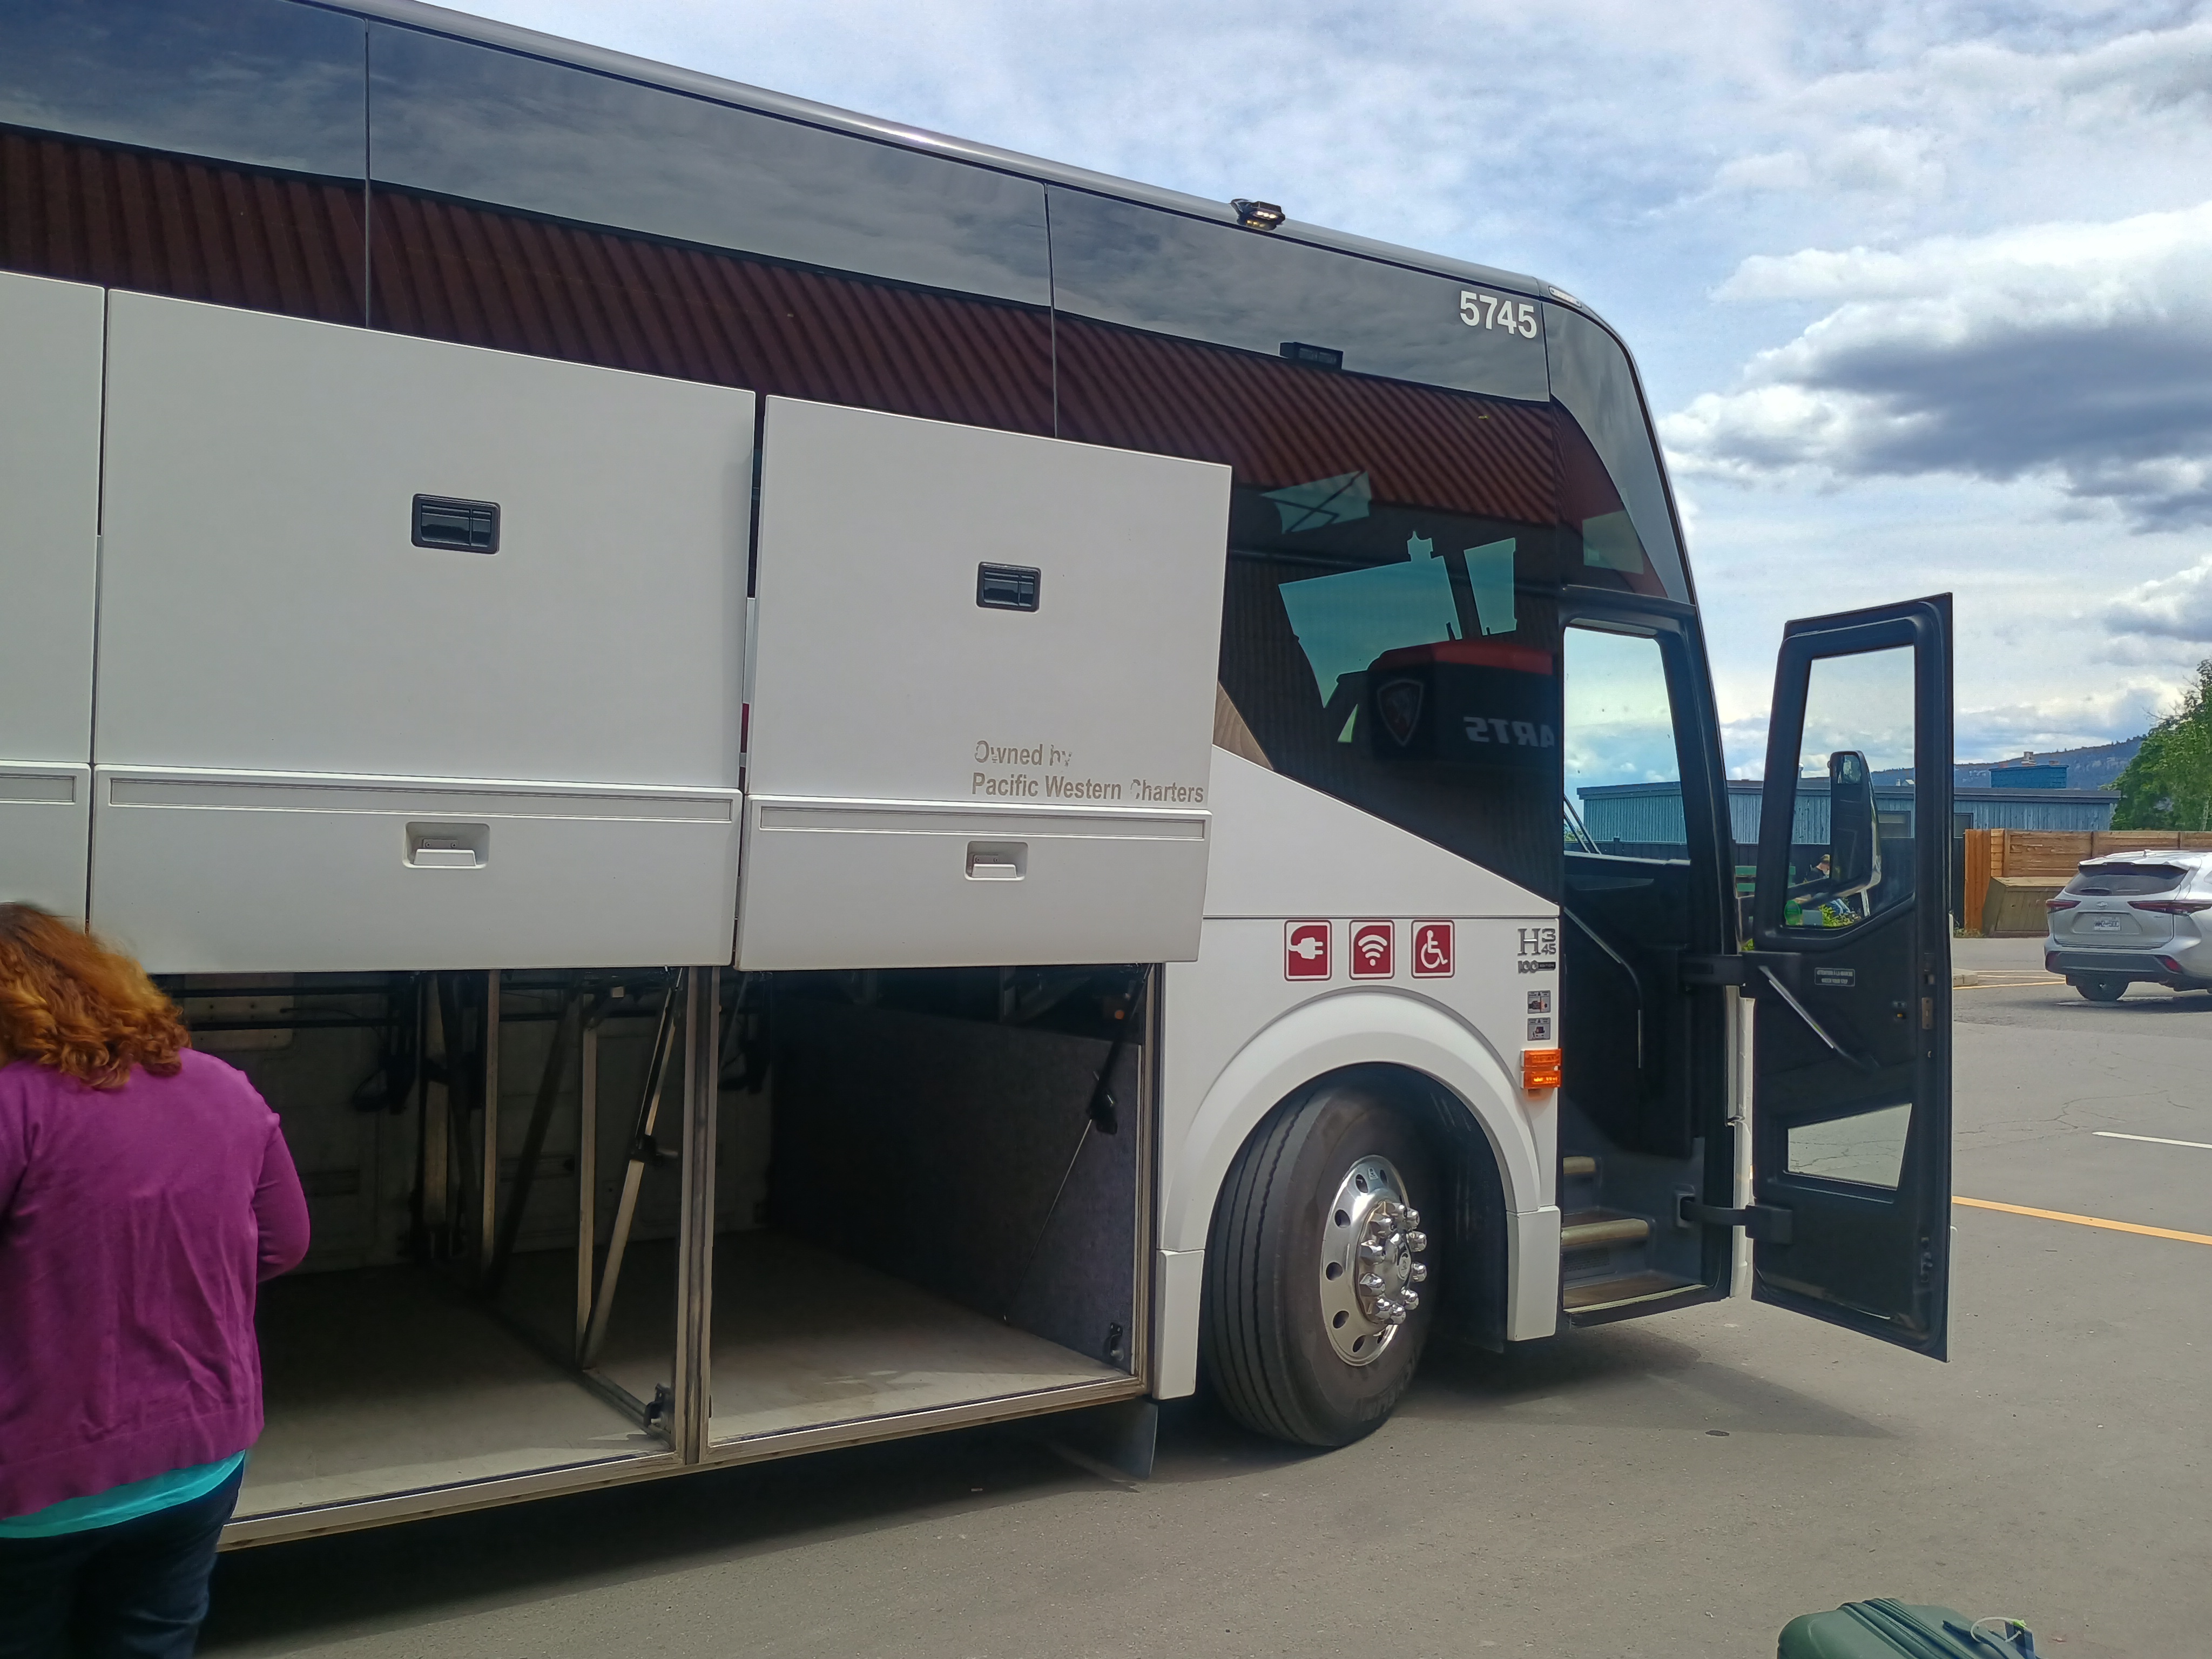
12. Carry the bike in its bag (awkward! but it has handles you can put over your shoulder) to the ticket taker, then to the side of the bus, along with your other luggage.
13. The bus driver will load your bike bag into the bottom of the bus.
14. Enjoy your trip! Look out the window and admire beautiful BC.
15. When you get to your destination, the bus driver will take the bike out of the bottom of the bus for you.
16. Put your front wheel back on, straighten out your handlebars, roll up your bike bag, and cycle off into your adventure.
Accurate as of May 2026.